Data Filters
Using "Data Filters" provides a simple yet powerful way to control the data within a layer that gets displayed on the map. When you specify one or more data filters, only the data matching filter criteria will be displayed on the map. You can specify multiple filters for each layer.
Data filters are useful if your layer contains a lot of data, but you only want to display the relevant data points, e.g. customers in a specific country, or above a certain dollar value.
You can filter by any custom data fields that were imported via csv file, and by most of the default data fields, i.e. lat, lng, name and note.
Example: Using Data Filters
In this example, we are going to use data provided by the Nation Center for Education Statistics to import a list of post-secondary schools in the United States. We are then going to filter the data so that it displays only schools in the state of New York (NY).
If you want to follow along, you can download the .csv data file. Note that this version of the file has been truncated to <500 records so that Map Maker free accounts can also import the data, i.e. not all schools are included.
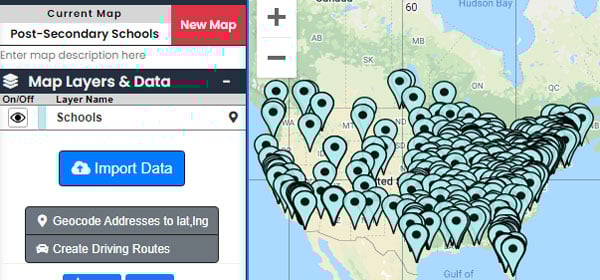
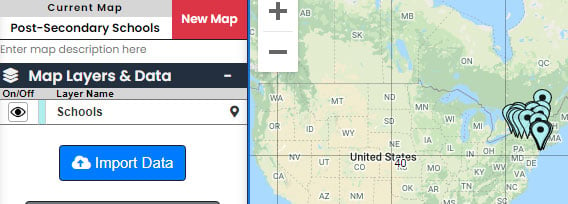
Step 1: Import the data using the csv import. In this example, "Schools" is used as the layer name.
After importing, the "Schools" layer will show up under "Map Layers & Data" to the left:
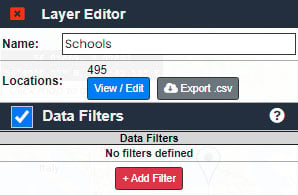
Step 2: Click the "Schools" layer and the "Layer Editor" will slide out on the right side of the page.
In the Layer Editor, make sure the "Data Filters" feature is selected to reveal the filter settings:
Step 3: We're now going to create the filter that only displays schools in New York.
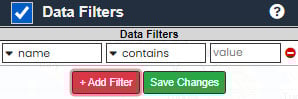
Click the "Add Filter" button. An empty filter row will appear:
Step 4: Since our imported spreadsheet contains a "State" column, we can use this to filter data.
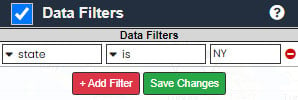
Change "Name" and select "state" from the drop-down. For the match type (second filter column), change "contains" to "is", since we will want an exact match (note that several filter matching types are available in the drop-down). Finally, enter "NY" in the value field:
Step 5: Click the "Save Changes" button. The data on the map will be updated to contain only the data in this layer that matches our specified filter:
NOTES:
- You can add additional filters by repeating the above process. Layer data must match all filters to be displayed.
- To delete a layer, click on the red/white icon to the right of the filter, then click "Save Changes".
- Filters can be temporarily disabled by un-checking the "Data Filters" feature in Layer Editor. The filters section will disappear and filters will not be applied to the layer data, however the filters are not deleted. The filters can be re-applied again by checking the "Data Filters" feature.