Importing Data from .csv
The Map Maker .csv (comma-separated values) file import option allows you to rapidly import data for a large number of locations. These .csv files can be created by most spreadsheet editors, including Microsoft Excel. To export a .csv file from Excel, please see these instructions.
In addition to standard expected data fields — such as latitude & longitude — you can also import custom data fields by specifying the column in the header row (first row of the .csv file)
CSV File Format Notes:
At an absolute minimum, Map Maker expects the "lat" and "lng" columns. These must be defined in the header row (very first row) of your .csv file:
- lat (required) - The latitude coordinate value
- lng (required) - The longitude coordinate value
- name (optional) - Name of the location (used for labels, etc.)
- color (optional) - The color to use for the location marker's icon
- iconSize (optional) - The size of the location marker's icon (a numeric value from 1-100)
- note (optional) - A longer description of the location, displayed in the location editor
To specify custom data columns, simply define their names on the header row. Once defined, the importer will check that column for each row in the csv file and import the data. Note the custom data fields highlighted in red below:

You can also see this example.csv file (you can view this file with a text editor or spreadsheet application, e.g. Excel).
Note About Lat/Lng Formats: Map Maker attempts to convert from various latitude/longitude formats, such as DMS (Degrees-Minutes-Seconds), into DD (Decimal Degrees), which offers the best results with the Google Maps API. If possible, please upload lat/lng data in decimal format.
Note About Data Delimiters/Separators: If your file uses a value delimiter/separator other than a comma, be sure to specify your delimiter type using the "Data Delimiter" field so that the importer can correctly parse your file. Learn more about spreadsheet data delimiters.
Step 1: Click the "Import Data" button in the left control panel:
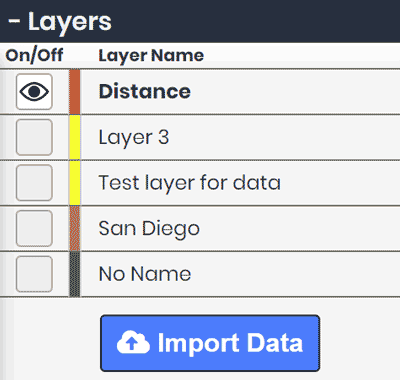
A modal window will open.
Step 2: Choose where you want to import data to, i.e. New Layer or Existing Layer.
Step 3: Make sure the "Import From File" option is selected.
Step 4: Browse for the .csv file you wish to upload, then click "IMPORT".
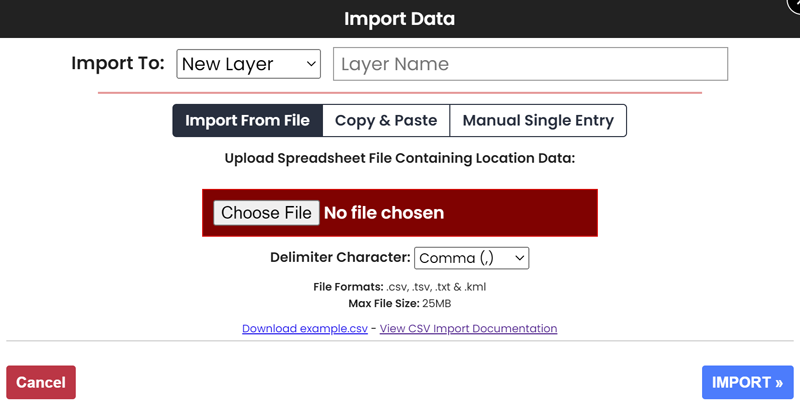
Once the file is uploaded and processed, the location data will be added to a new layer and loaded onto the current map.