Remove Layer From Map
Note: Removing a layer from a map does not permanently delete the layer and its data. It only removes the data from the current map.
The rationale: map-making becomes much more interesting when data is "flexible and portable", allowing you to use datasets on not just a single map, but on any of your maps. And, when a dataset is updated in one place, the changes are reflected on all maps using the dataset. Moreover, future versions of Map Maker will incorporate advanced sharing and permission settings so that you can more granularly share layer data with colleagues / friends.
To permanently delete a layer and all its data, please see: Delete a Layer.
There are 2 ways to remove a layer from the current map.
- Method 1: Using the "Drop-Down" from the "Layers" link in the top navigation.
- Method 2: Clicking the layer in the "Layer List" in the left control panel, then clicking "Remove" in editor panel on the right.
Method 1: Using the "Drop-Down" from the "Layers" link in the top navigation.
Step 1: Click on the "Layers" link in the top navigation:
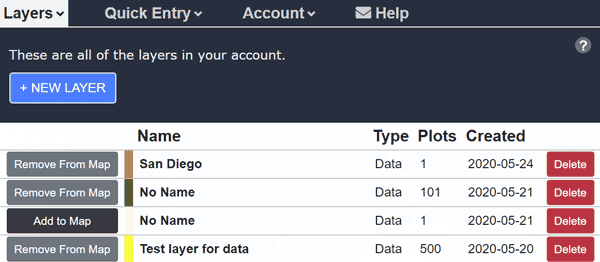
Step 2: Click "Remove From Map" for the layer you want to remove. The layer will be removed from the current map.
Tip: You can also use this method to add other layers to the current map. Available layers that are not on the current map will display an "Add To Map" button. Clicking this will add the layer to the map.
Method 2: Clicking the layer in the "Layer List" in the left control panel, then clicking "Remove" in "Layer Editor" panel on the right.
Step 1: Click on the layer you wish to remove in the "Layer List" in the left control panel:
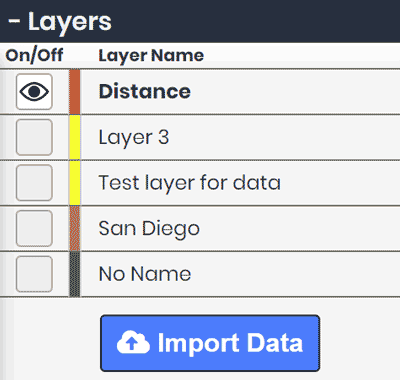
A "Layer Editor" panel will open on the right.
Step 2: Click "Remove Layer" in the Layer Editor:
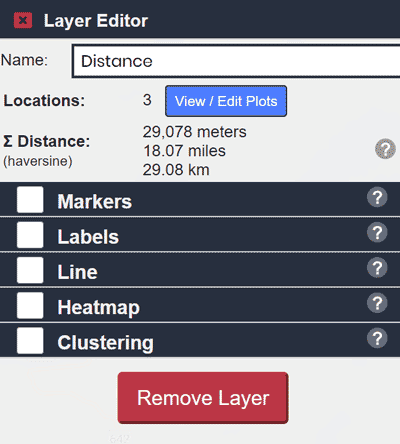
The layer will be removed from the current map.