Adding a User (Sharing)
With Map Maker, adding user permissions is done on a per-map basis rather than an account-level basis. This provides greater flexibility in customizing access permissions for individual maps and users.
When granting a user permissions to a map, the user can be assigned one of two permission levels:
- View Only: The user can view the map — even if it is not published publicly — but cannot edit the map.
- View & Edit: The user can view and edit the map (e.g., edit layers, rename the map, etc.).
Please note that if you have published a map publicly, it is not necessary to grant users "View Only" permissions, since they can always view the map via the public map URL. If you have not published the map publicly, granting access to a specific user will allow them to view or edit the map based on the assigned permission level.
Adding a User to a Map
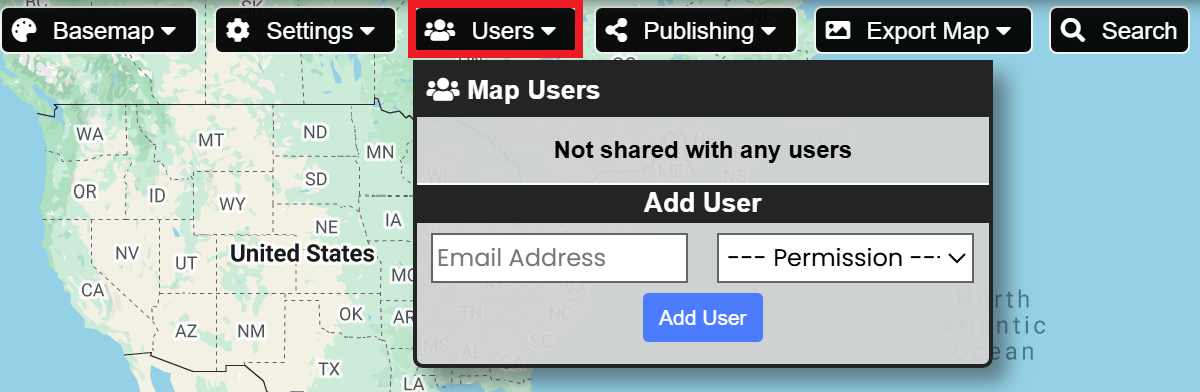
- Click "Users" to open the "Map Users" window
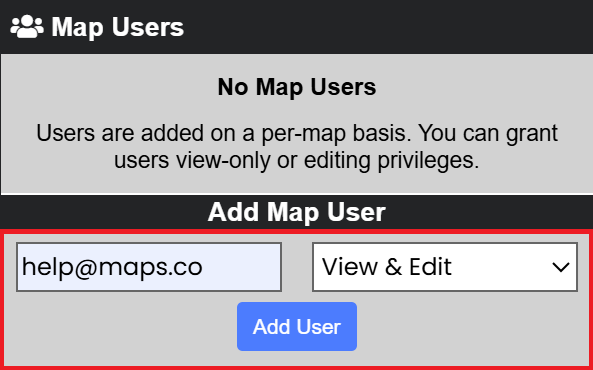
- Enter the email address for the new user and select a permission level
- Click "Add User"
STEP 1: Click "Users" to open the "Map Users" window:
STEP 2: Enter the email address for the new user and select a permission level:
STEP 3: Click "Add User"
After clicking the "Add User" button, you will receive a notification indicating that the user has been added to the map, or an error message if something went wrong during the process.
If a user with the given email address already has a Map Maker account, they will have immediate access to the map. An email message will be sent to notify the user that access was granted, along with a link to open the map.
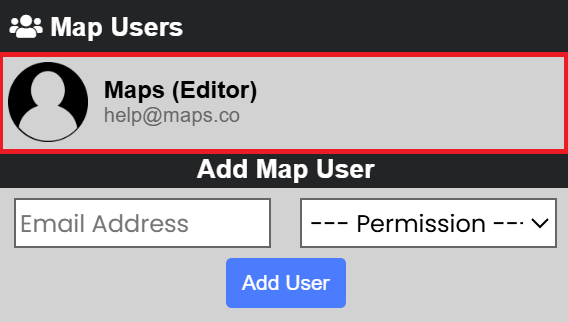
Once the user has been added to the map, they will appear in the list of Map Users: